

PHPをダウンロード
https://windows.php.net/download にてZipファイルをダウンロード

Nginxは基本「FastCGI」なので上の「VS17 x64 Non Thread Safe」をダウンロードします
下の「VS17 x64 Thread Safe」は「Apache」などのモジュール版として使います

PHPをインストールする
インストールするフォルダを作成する
PHPをインストールしたいフォルダを作成します
c:/srv/nginx/php8.4など。上記の「php8.4」は空フォルダになります(8.4はphpのバージョン)
Apache版とはダウンロードするファイルが若干変わるので個別にインストールします
以下は別の例
c:/nginx/php
c:/nginx/php8.3
必ず空のフォルダを作成してください
ダウンロードしたZipファイルを展開
ダウンロードしたZipファイル「php-8.4.12-nts-Win-vs17-x64.zip」を右クリックし、「すべて展開」をクリック
「参照」をクリックし上記で作成したフォルダを選択「c:/srv/nginx/php8.4」
右下の「展開」をクリック

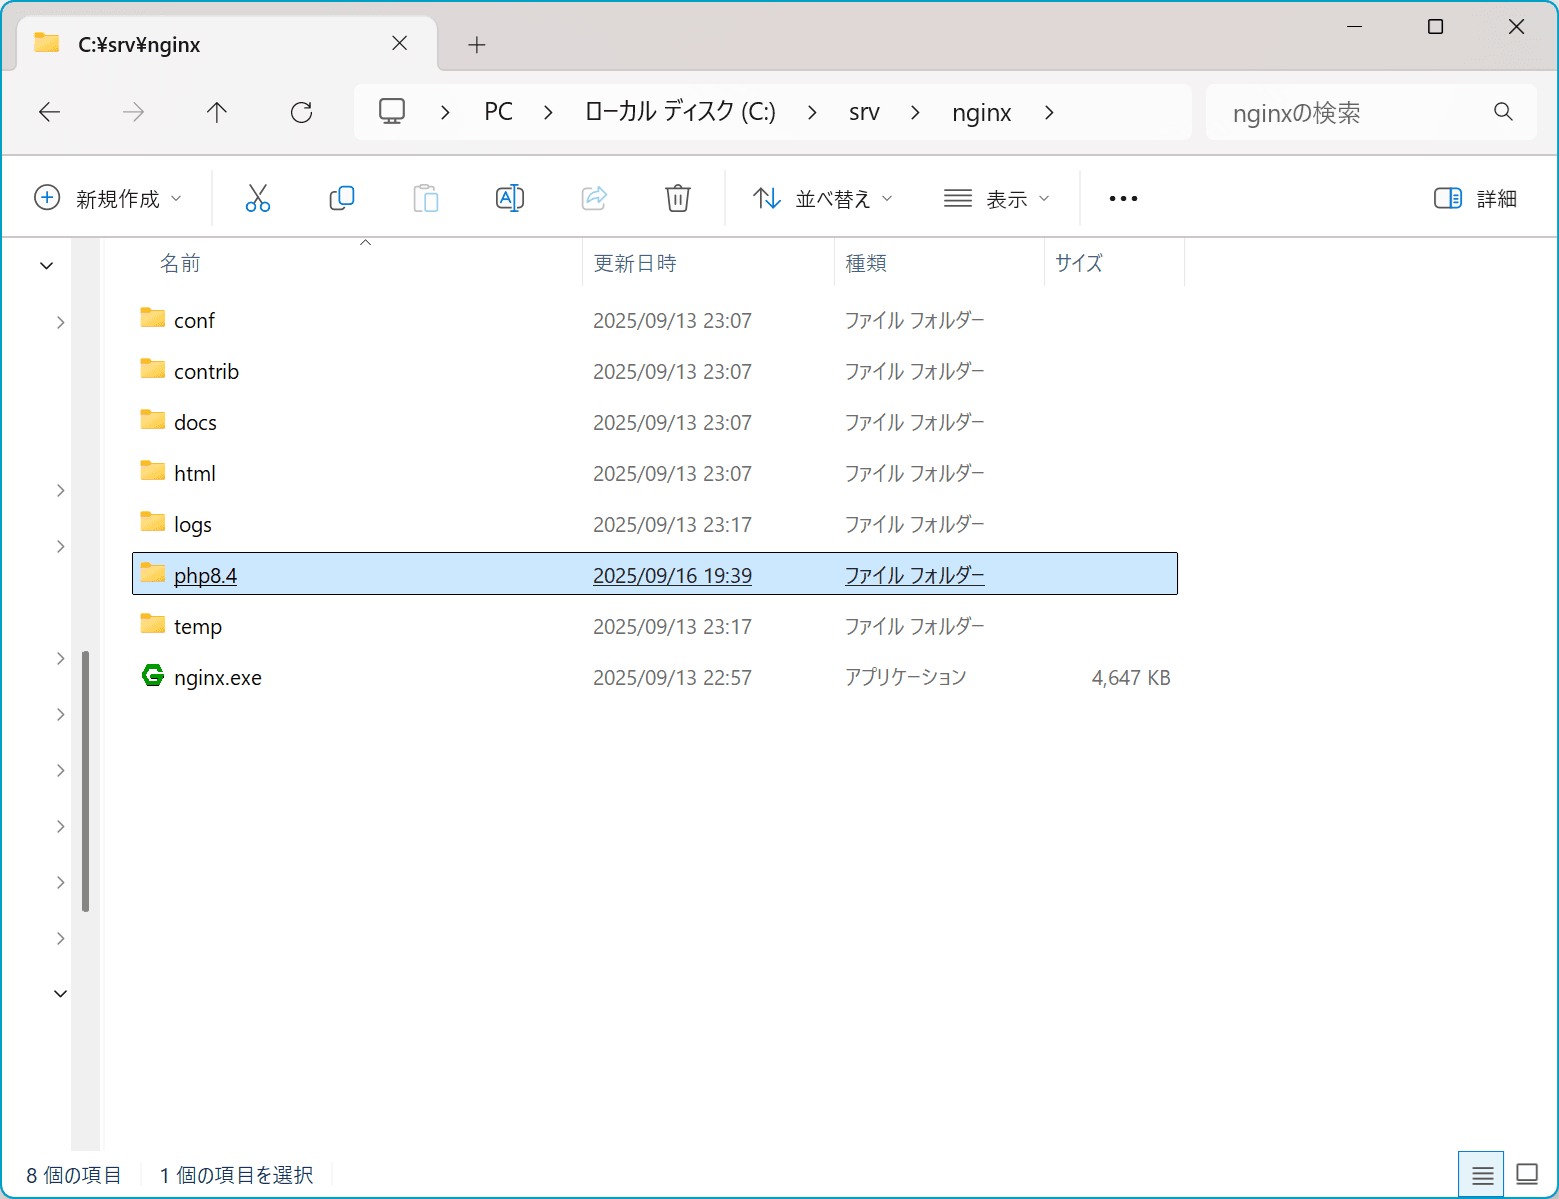

展開したフォルダを確認 「c:/srv/nginx/php8.4」

上記のファイルがインストールされていれば成功です(一部ファイルのみ表示)
以下このフォルダを「PHPフォルダ」とします
PHPの設定
Nginxと連携する為にPHPの設定をします
設定ファイルのリネーム
PHPフォルダにある「php.ini.development」というファイルを一旦別のフォルダにコピーし、「php.ini」にリネーム
リネームした「php.ini」をPHPフォルダに移動
設定ファイル「php.ini」を編集
「php.ini」をテキストエディタなどで開く
764行目付近にある「;extension_dir = “ext”」 コメントアウトを削除
「php8.4/ext」までの絶対パスに変更
;extension_dir = "ext"
↓
extension_dir = "c:/srv/nginx/php8.4/ext"
他の例として
c:/nginx/php/ext
c:/nginx/php8.4/ext
変更した保存
Nginxと連携する
45行目付近 「index.php」を追加
65行目以降のPHPに関するロケーション部分のコメントアウトを削除
66行目付近 root部分 「html」 を「c:/srv/html」に変更
69行目付近 「/scripts」を「$document_root」に変更
修正前
server {
    listen       80;
     server_name  localhost;

    #charset koi8-r;

    #access_log  logs/host.access.log  main;

    location / {
        root   html;
        index  index.html index.htm;
    }

    #error_page  404              /404.html;

    # redirect server error pages to the static page /50x.html
        #
    error_page   500 502 503 504  /50x.html;
    location = /50x.html {
        root   html;
    }

    # proxy the PHP scripts to Apache listening on 127.0.0.1:80
    #
    #location ~ \.php$ {
    #    proxy_pass   http://127.0.0.1;
    #}

    # pass the PHP scripts to FastCGI server listening on 127.0.0.1:9000
    #
    #location ~ \.php$ {
    #    root           html;
    #    fastcgi_pass   127.0.0.1:9000;
    #    fastcgi_index  index.php;
    #    fastcgi_param  SCRIPT_FILENAME  /scripts$fastcgi_script_name;
    #    include        fastcgi_params;
    #}

    # deny access to .htaccess files, if Apache's document root
    # concurs with nginx's one
    #
    #location ~ /\.ht {
    #    deny  all;
    #}
}
↓
server {
    listen       80;
     server_name  localhost;

    #charset koi8-r;

    #access_log  logs/host.access.log  main;

    location / {
        root   c:/srv/html;
        index  index.php index.html index.htm;
    }

    #error_page  404              /404.html;

    # redirect server error pages to the static page /50x.html
        #
    error_page   500 502 503 504  /50x.html;
    location = /50x.html {
        root   html;
    }

    # proxy the PHP scripts to Apache listening on 127.0.0.1:80
    #
    #location ~ \.php$ {
    #    proxy_pass   http://127.0.0.1;
    #}

    # pass the PHP scripts to FastCGI server listening on 127.0.0.1:9000
    #
    location ~ \.php$ {
        root           c:/srv/html;
        fastcgi_pass   127.0.0.1:9000;
        fastcgi_index  index.php;
        fastcgi_param  SCRIPT_FILENAME  $document_root$fastcgi_script_name;
       include        fastcgi_params;
    }

    # deny access to .htaccess files, if Apache's document root
    # concurs with nginx's one
    #
    #location ~ /\.ht {
    #    deny  all;
    #}
}
44行目、66行目にある 「root~~」はWebフォルダまでのパス 2か所とも同じにする
45行目 index.phpを一番前に追加(index.phpから参照)
動作確認
Nginxの起動、再起動
Nginxを起動するにはNginxフォルダにある「nginx.exe」をクリックするかコマンドプロンプトで起動します
コマンドプロンプトにて
cd c:\srv\nginx
start nginx
Nginxが起動している場合は、再起動します
コマンドプロンプトにて
cd c:\srv\nginx
nginx -s reload
PHPを起動
Apacheと違ってNginxを使う場合は個別でPHPを起動する必要があります
コマンドプロンプトにて
cd c:\srv\nginx\php8.4
start php-cgi.exe -b 127.0.0.1:9000
phpinfoを作成
Webフォルダ「c:/srv/html」に 「info.php」がなければ テキストエディタを開き以下を記述
<?php
  phpinfo();
?>
info.phpなどでWebフォルダ(c:/srv/html)に保存
表示確認
ブラウザで「http://localhost/info.php」にアクセス

上のように表示されれば成功です
NginxとPHPをコマンド操作で起動 停止させる
改めてコマンド操作の方法をまとめました
Nginxの起動 停止 再起動
コマンドプロンプトにて
cd c:\srv\nginx //nginxまで移動start nginx //nginxの起動
nginx -s stop //nginxの停止
nginx -s reload //nginxの再起動PHPの起動 停止
コマンドプロンプトにて
cd c:\srv\nginx\php8.4 //PHPフォルダまで移動start php-cgi -b 127.0.0.1:9000 //PHPの起動
taskkill /f /im php-cgi.exe //(強制)停止正確にはPHPの停止コマンドはないので強制終了です
Nginx+PHP 同時に起動 停止
NginxにはApacheみたいにPHPも同時に起動、停止することができませんが、batファイルを使って疑似的に同時に起動、停止することができます
起動用batファイル
テキストエディタなどに以下を追加
@echo off
start nginx

cd php8.4
start php-cgi -b 127.0.0.1:9000@echo off 余分な文を表示させない
start nginx 同フォルダ内にある「nginx.exe」を実行
cd php8.4 同フォルダ内にある「php8.4」へ移動
start php-cgi -b 127.0.0.1:9000 PHPを実行
「start_nginx_php.bat」などで同フォルダ内に保存
@echo off
cd c:\srv\nginx
start nginx

cd c:\nginx\php8.4
start php-cgi -b 127.0.0.1:9000
「start_nginx_php.bat」などで任意の場所に保存
「start_nginx_php.bat」は分かりやすい名前に変えてもOKです
停止用batファイル
テキストエディタなどに以下を追加
@echo off
cd c:\srv\nginx
nginx -s stop

taskkill /f /im php-cgi.exe
cd c:\srv\nginx nginxまで移動
PHPは停止コマンドがないので強制終了
「stop_nginx_php.bat」 などで任意の場所に保存
強制終了bat

こちらで紹介したように設定が反映されてない時にNginxとPHPをまとめて強制終了する方法です
@echo off
taskkill /f /im nginx.exe

taskkill /f /im php-cgi.exe
「nginx_php_kill.bat」 などで任意の場所に保存


コメント